

To begin with, I used my Maybelline Baby Skin Primer Instant Pore Eraser to fill in any large pores and make my skin smoother.

I next used Mac Cream Colour Base in Luna to illuminate my skin before applying my foundation. This will give my skin the look of a glow from within once I apply my foundation.

I applied this to the high points of my face, so the cheekbones, eyebrow bone, forehead, nose and chin.

For my base, I took the L'Oreal Infallible Matte foundation and buffed this all over my face with a Zoeva Silk Finish brush. This foundation doesn't make me at all shiny throughout the day and it gives excellent coverage too!


I concealed any blemishes and redness around my nose still peeking through with the Rimmel Wake Me Up as it isn't too thick or heavy but still gives great coverage! It's also incredibly easy to blend to I just used my fingers to do this.
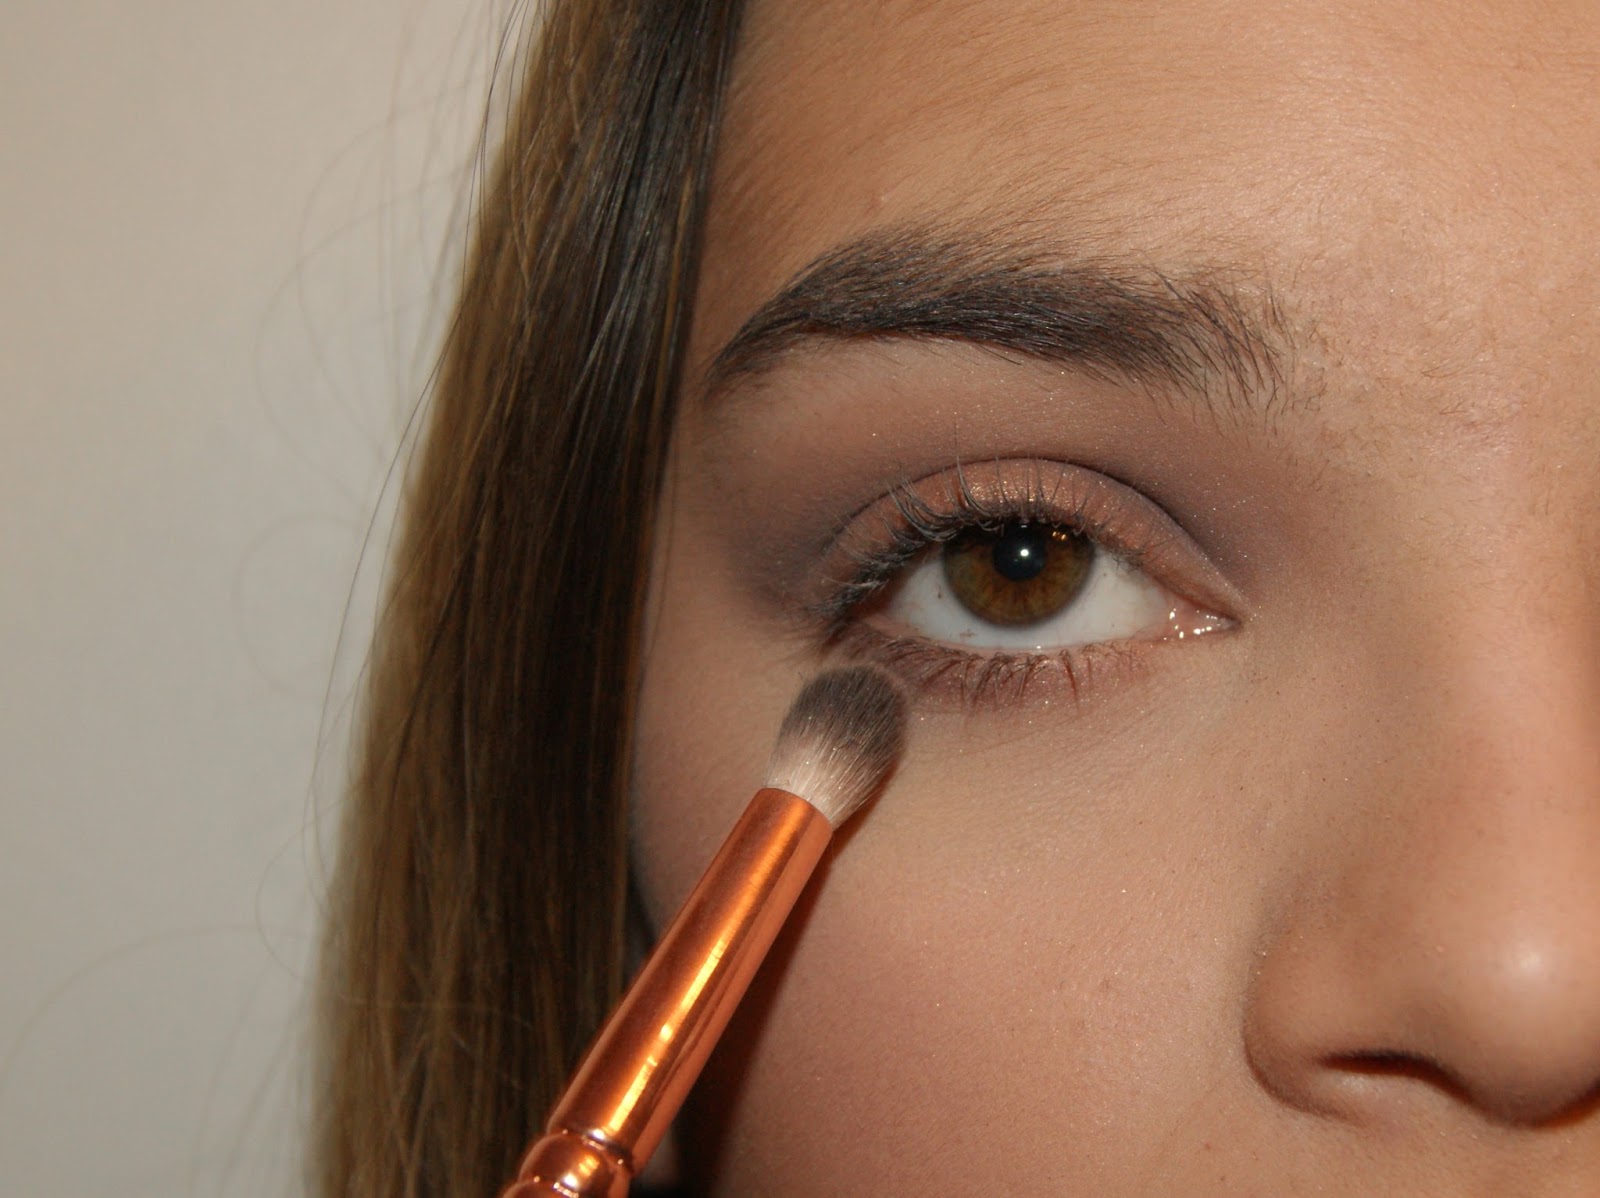
For under my eyes I decided to go with the Mac Pro Longwear concealer as it's lighter than my foundation so it gives a brightening and highlighting effect. Also, its very full coverage! Because this is quite thick I used my fingers to blend because it sheers it out slightly and makes it a little thinner. But, the natural warmth of your fingers helps to blend too.


As this concealer is quite thick it creases easily underneath the eyes, which is the only downside to it.
Therefore, I set it quickly with some loose powder to prevent this as much as I can!


In order to contour I used the first shade in the Sleek Face Form Palette. The brush I used was the Zoeva Face Shape Brush as it's able to get right under the cheekbones.
Also, I used the blush from this palette as it has a golden undertone, which matches the eyeshadow I'm going to use later.


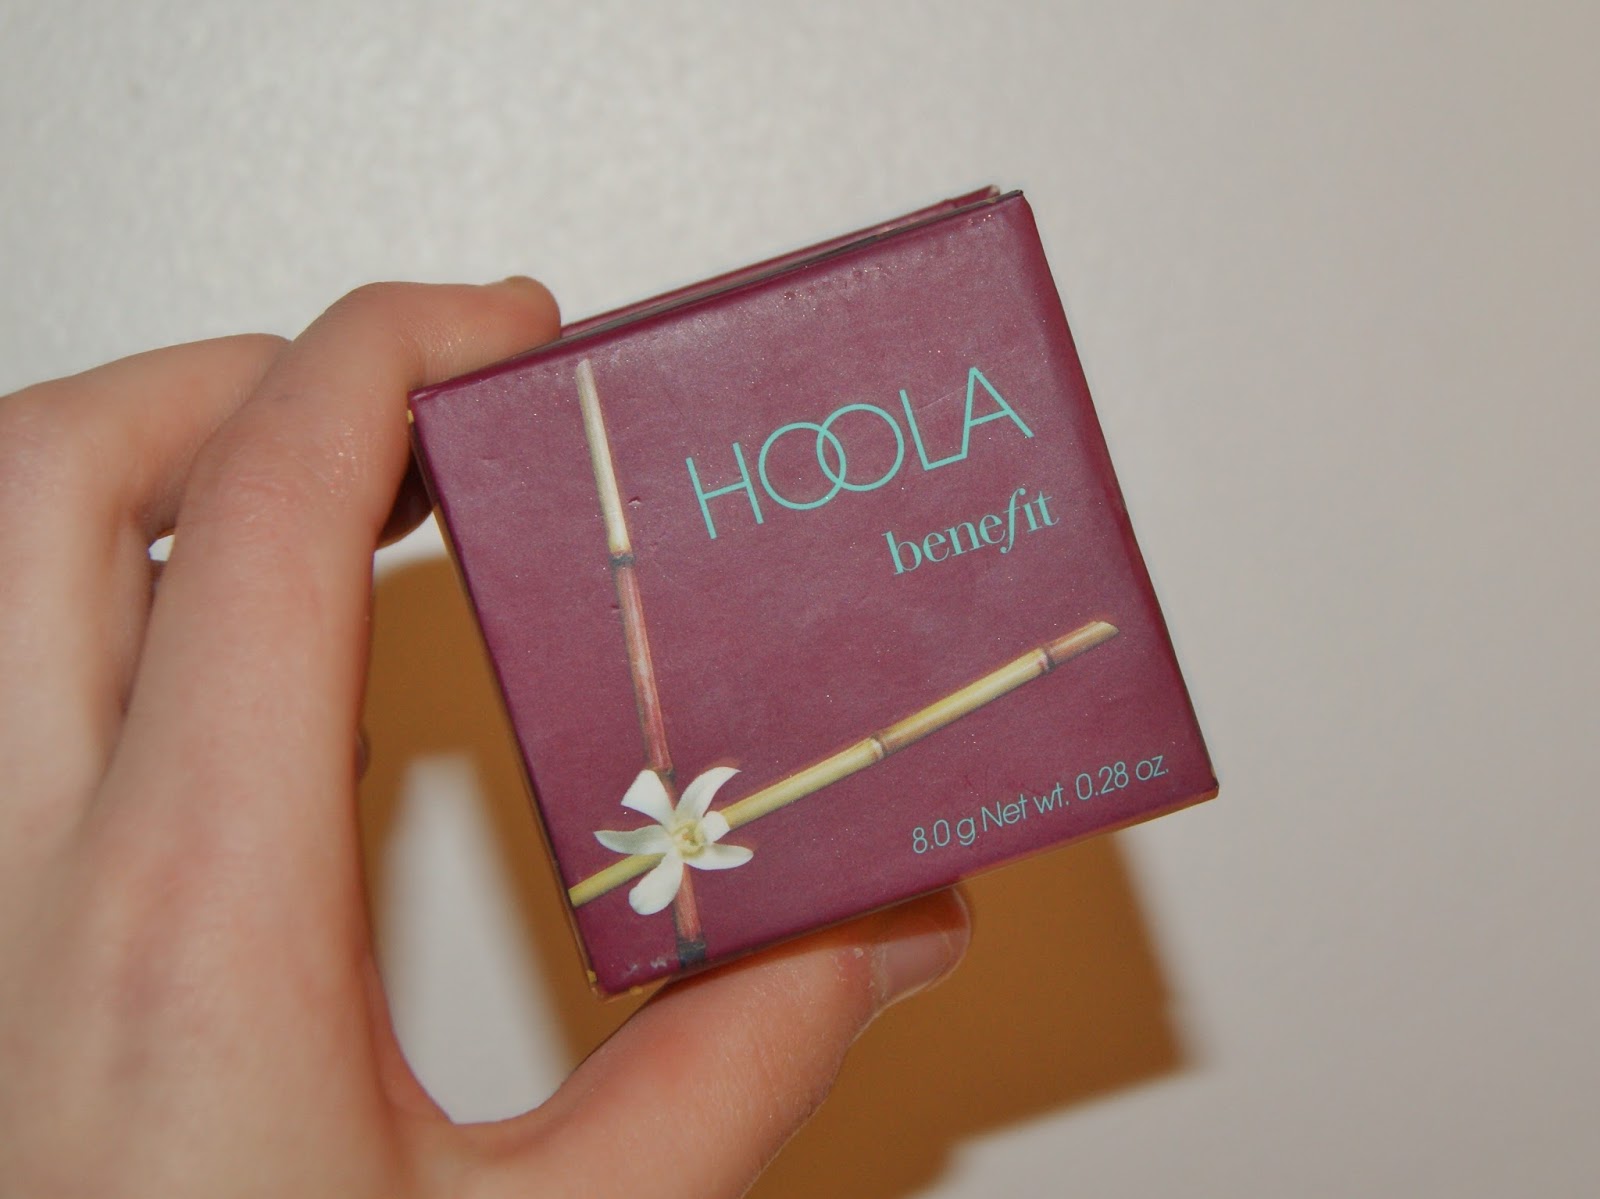
To bronze up my face I used the Benefit Hoola Bronzer as it's matte and therefore contrasted all the glow going on from the rest of my face, from the blush and cream colour base! Also, I am writing a review post on this bronzer, which will be up thursday!
I took this around my temples, my jaw, the sides of my nose and just above the contour to deepen the colour up a little.


Moving onto eyes, I first applied the Maybelline Colour Tattoo in 'On and On Bronze', which I haven't used in ages, as a primer to stop my eyeshadow from creasing and last all day. Also, it begins to add the warmth into the eyelid. To applying this I just used my finger as I find that it gives the best pigmentation.

For my lid, I took the gold shimmery shade from the Revolution Iconic 3 Palette, which is a dupe for the Naked 3 Palette. I packed this all over my lid with a flat shader brush to get maximum pigmentation.


For the crease shade, I took the dark green from the Colour Co Gorgeously Glam palette below, which is the 5th shade from the right.

I blended this through the crease using a Zovea Soft Definer and building up the colour as I go so that it was easier to diffuse out. This shade was a deep khaki green off camera, however, unfortunately as you can see from the photo below it looks grey, which is a shame.

To smoke out my bottom lash line I look the Mac eyeshadow in Satin Taupe, which is a beautiful shimmery purple with brown undertones.

Going back to the Revolution gold eyeshadow from earlier, I applied this with a pencil brush to my inner corners to brighten and open up my eyes with a hint of colour.

Carrying on with highlighting, I took the Mac Eyeshadow in Nylon on my brow bone with a tapered blending brush.


For mascara, I used Benefit's Roller Lash, which is my holy grail mascara! It curls my lashes so well, coats them fully, lengthens and adds loads of volume.

I decided to add some of the Mac Coffee Eyeliner in my waterline to add some more drama to my eyes and define my lower lashes a little more!


To fill in my brows, I used my usual Benefit Brow Zings Palette in medium brown with the Zoeva Wing Liner brush, which is very thin so recreates fine hairs! Therefore, making my brows look thicker and fuller.


As usual, I set them in place with the Maybelline Brow Drama in 'transparent' as it highlights the texture of the hairs, removes excess product and stops your brows moving all day!


To finish off the look I went for a brown nude!
I lined my lips with the Mac Whirl Pencil to give them a sharper shape and more definition. This also helps when applying lipstick as you can get a better overall shape.


The lipstick I used to finish off my lips was 'Verve' by Mac. I wrote a post about my Mac lipsticks here where you can find some more in depth information on this lipstick and a few others!


And then I finished with the Urban Decay De Slick setting spray and that's it!


India Jasmine
♥
No comments:
Post a Comment