I realised the other day that I've never actually done a properly structured product test throughout the course of a day before. But, coincidently, about two weeks ago my friend Lydia kindly gave me one of her Nars Sheer Glow tester pots because it didn't match her skin.
Therefore, I figured that this was the perfect time for a test!
To begin with, I primed my face because this is what I do before applying any foundation I wear and I therefore wanted to keep it fair.
However, I made sure not to use a primer that would extend how long lasting the wear of this fountain was. Instead, I just applied one that made the foundation glide on smoother.
Next, I began to apply the foundation to my face with a beauty blender.
I chose to use this technique of a damp beauty blender after checking in with Rose, from Rosemaeblog. She uses a beauty blender with this foundation too so I decided that this would be a good place to start. Also, I will leave a link to her blog at the end of this blog post as it's incredibly flawless and she deserves so many more followers!
I am using the shade Mont Blanc, in case you were wondering.
I am using the shade Mont Blanc, in case you were wondering.
I decided to apply one thin layer of this foundation to my skin so that I could really see how good the pigmentation was.
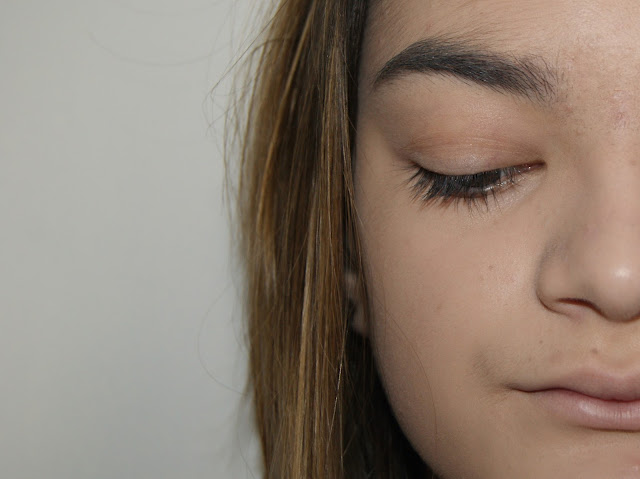
As you can see from the picture below, the foundation evened out my skin tone pretty well and covered over most redness. However, it didn't completely cover large spots, which was quite disappointing.
I was a little hesitant to try out this foundation because my skin type is oily and obviously this Nars foundation is meant to give a glowy luminescence to the skin. Luckily, I didn't find the dewiness too overpowering and it was easily matted down with a setting powder.
I then carried on with the rest of my makeup and as you can see from the photos there is no flashback given with this foundation.
Also, I didn't find that any products I applied on top of the foundation dragged and they all went on as normal.
However, once I had finished my makeup I saw that the product had creased around my nose but this was fixed reasonably easily with a setting spray, which I will be doing a review on soon!
All of the pictures above were shot at around 11.00am. I will be taking photos throughout the day shown below to see how the foundation wears all day long.
This photo above was taken just after 2.00pm the same day.
As you can see, my skin has already become quite shiny mostly in my T-Zone, which is very disappointing. It is mostly focused around my forehead, chin and the sides of my nose.
Also, my chin began to look cakey and I felt the need to use a beauty blender to blend the foundation into my skin again and blot away some of the shin with a little powder.
By the end of the day, my foundation looked very cakey and shiny that I didn't even want to photograph it to be honest.
By the end of the day, my foundation looked very cakey and shiny that I didn't even want to photograph it to be honest.
In conclusion, I would not recommend this foundation for people with oily skin but I feel that people with dry to normal skin would get on much better with it as this foundation is quite illuminating.
It did cake up on me after a while, bearing in mind that I applied one thin layer, but this may have been because of my skin type.
However, the colour match was great, which was probably the only upside for me.
I hope you enjoyed this different type of blog, please comment below if you did and I'll do more in the future!
Roses blog is linked here!
India Jasmine
♥


No comments:
Post a Comment