I have had a couple of requests from fellow bloggers to do my take on a celebrity inspired makeup look, so today I thought I would take inspiration from Cara Delevingne!
As you can see from the photo, Cara's base makeup looks so flawless but with a natural finish at the same time. Therefore, I began with a blur cream by L'Oreal because it really smoothes out my skin.
Also, I decided to use the Rimmel Lasting Perfection foundation because it has a pretty good coverage and a satin finish, so it looks more glowy then a straight up matte foundation. To blend this in I used the Zoeva Silk Finish Brush because it buffs the product in so well!
Next, I used the Rimmel Wake Me Up Concealer under my eyes, around my nose and on any blemishes still showing through.
This concealer has light reflecting particles so it makes the area of skin look flawless and dewy. To blend this in I just used my fingers because they have a natural warm to them, which helps to further blend the product in seamlessly.
I then set my makeup with a little of the Rimmel Stay Matte, just to keep it in place. To do this I used the Zoeva Powder Brush because it isn't dense so only disperses a small amount over your skin.
Cara doesn't look like she has much bronzer on at all, maybe a little around her temples. So I just used a little of the NYC Sunny Bronzer around the sides of my face a little with the same brush as I used for my powder.
Cara's cheekbones look very contoured in this look, as usual. The contour powder I used was actually a mixture of a grey and taupe eyeshadow from the Revolution Iconic 3 Palette. So I first used the Zoeva Face Form Brush to lightly sculpt out my face, then I went back in with the Zoeva Silk Finish. It's bigger and rounded, therefore it can be used to blend the product in and create the illusion of depth.
There is also a little contouring down the sides of her nose. I used the Zoeva eyeshadow blending brush called the Luxe Soft Definer. It's very fluffy and blends products seamlessly so I just used this to add a little more shape and depth.
In the photo you can clearly see that Cara has a lot of blush on her cheeks, so her face looks healthy and youthful.
For this I'm going to be using a mixture of the hot pink blush and the peach toned shade.
To apply this I used the Zoeva Luxe Sheer Cheek brush, which is the one I used for my contour. I applied a little of this on the apples of my cheeks, but then mostly dragged the rest up my cheekbones just above the contour.
It doesn't look like Cara has any highlight on top of her cheek bones so I decided to skip this step. However, she does appear to have a little amount of the tip of her nose and cupids bow. To do this I used the Mac Cream Colour Base in Shell and just applied that with my fingers.
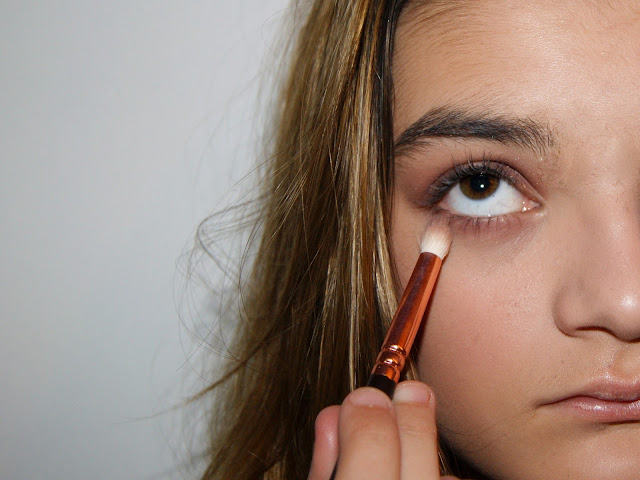
Now onto eyes! To begin with I used the Maybelline Colour Tattoo in On and On Bronze. This added the base colour to my lids and also it helps to prime for the rest of the eyeshadow later on.
I just applied this with my fingers because it is easiest and also helps the product to be more pigmented.
Then I applied the shimmery gold eyeshadow from the Revolution Iconic 3 Palette. I used a short, flat shader brush to do this, which I think is just from Superdrug.
I then repeated this step, with a dark brown shade from the same palette instead of the gold. Also, I then blended it out with a large fluffy synthetic brush to make it fade nicely.
I then took my Sleek eyeshadow palette in Oh So Special. I blended the shades 'Boxer' and 'Wrapped Up' in my crease to add some depth, with the Zoeva Luxe Soft Definer Brush.
From the same palette, I took the shade 'Noir' on a H&M Angled Brush. I ran this closely along my lash line to add the illusion of more volume to my lashes and to smoke out the look slightly more.
I then took 'Boxed' and 'Wrapped Up' again, on a Zoeva Petite Crease brush and ran it under my eye. This smokes out the look, like the black eyeshadow, and it also balances out the colour on top of your eyes.
Pulling a strange face, I again took 'Noir' with the same angled brush. I ran this directly beneath my bottom lashes to give the same effect as on the top.
Taking my NYC Bronzer again and the Zoeva Soft Definer, I warmed up my bottom lash line slightly with a little amount of product.
Now as you can see from this rather hilarious photo, I applied my holy grail mascara. As you probably all know, this is the Benefit Roller Lash. It coats your lashes jet black; creates a load of volume and lengthens your lashes amazingly! I applied this to both my upper and lower lashes.
This would be a Cara Delevingne Inspired Tutorial without them brows!
I filled in my brows, slightly over drawing them at the top and bringing them in a little at the start, with the Rimmel Brow This Way Wax and Powder Palette.
To apply it I used a Zoeva Wing Liner Brush because it's thin and can therefore create small, hair-like strokes.
Also, if anyone would like to see a post dedicated to filling in my eyebrows then comment that below!
To set my brows in place all day, I used the Maybelline Brow Drama in Transparent.
I really would like to try the Dark Brown version of this, so if you have tried it then please tell me about it in the comments!
I lined my lips with the Rimmel Exaggerate Liner in East End Snob.
I didn't over draw my lips, its just to add a darker shade around my lips and create some depth.
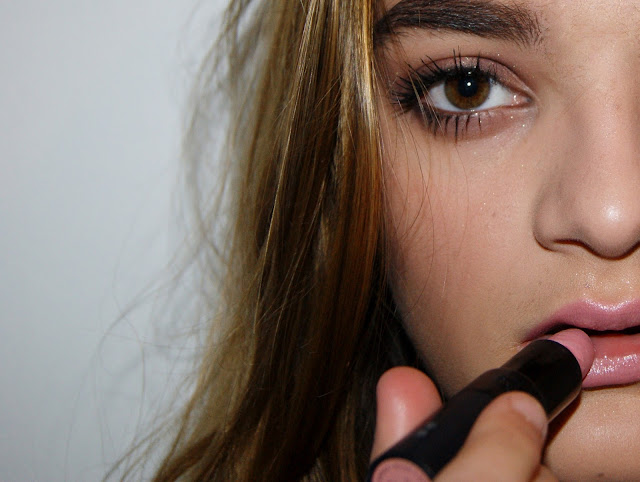
Lastly, I filled in my lips with the Gosh Lipstick in 172 Angel! This is a great everyday colour: a pinky nude!
Also, it's very creamy and easy to blend and apply.
And here's the finished look...
Products used:
♥


No comments:
Post a Comment